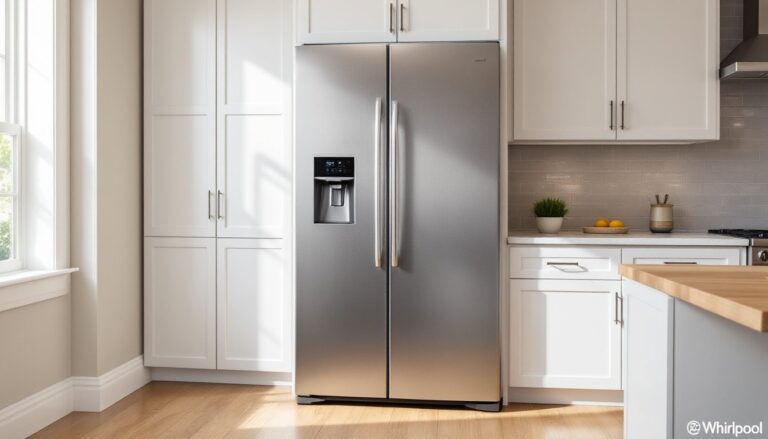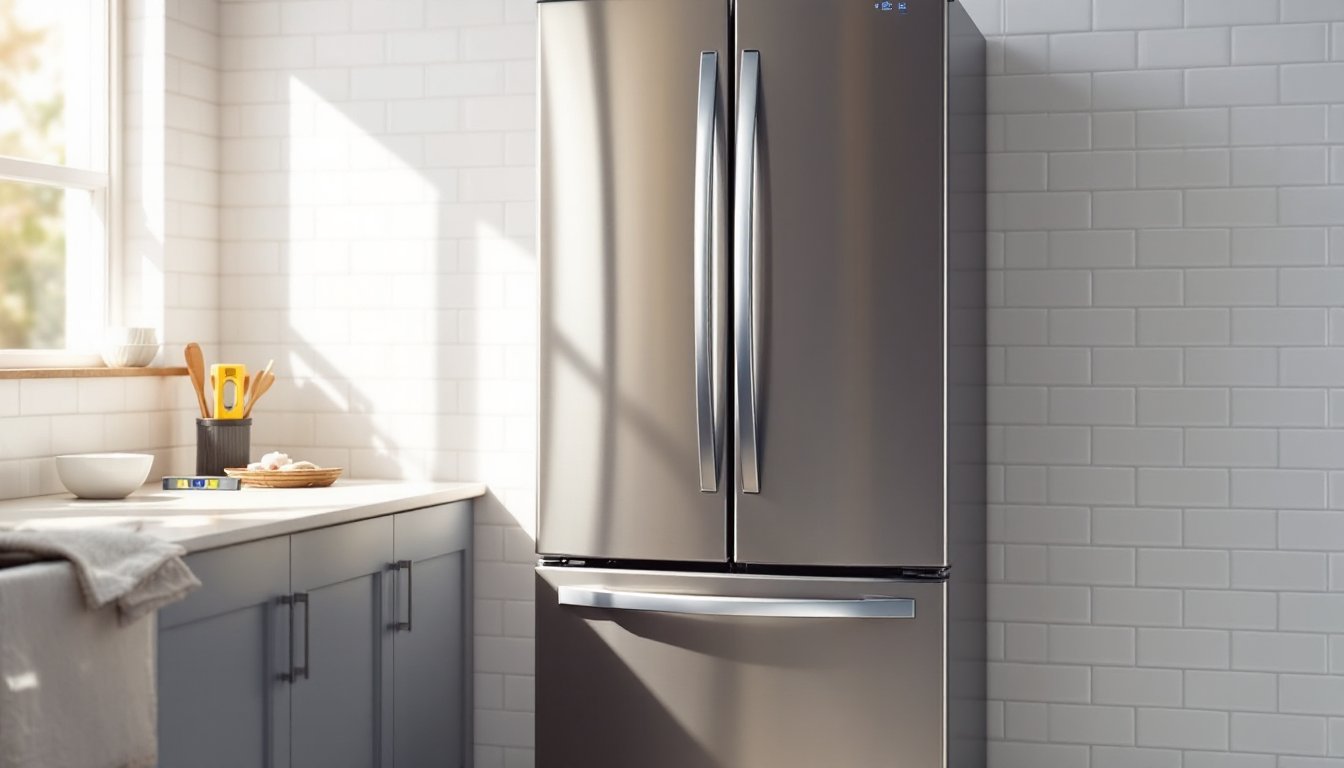
A refrigerator that hums quietly is normal, it’s the sound of machinery working around the clock to keep food cold. But when that hum becomes loud, constant, or just plain annoying, it’s a sign something’s not quite right. The good news? Most refrigerator humming issues are fixable without calling in a pro. Understanding the difference between normal operation and a real problem can save money and restore some peace to the kitchen. This guide breaks down the seven most common causes of refrigerator humming noise and walks through practical fixes any homeowner can tackle.
Table of Contents
ToggleKey Takeaways
- A quiet refrigerator hum is normal operation, but loud, persistent humming signals an issue that usually can be fixed without calling a professional.
- Dirty condenser coils are one of the easiest causes to fix—simply vacuum them every 6-12 months to improve airflow and reduce compressor strain.
- Determine whether your refrigerator humming comes from the back (compressor or condenser fan) or inside the freezer (evaporator fan) to pinpoint the exact problem.
- Quick DIY checks like leveling the unit, tightening loose drain pans, and ensuring proper airflow around the fridge resolve humming in many cases.
- Compressor replacement is expensive ($300–$600+), so exhaust simpler fixes like cleaning coils and checking refrigerant levels before considering replacement.
- Ice buildup on evaporator fan blades, water inlet valve mineral deposits, or worn fan motors are common internal causes that typically cost $15–$80 to repair.
Understanding Normal vs. Abnormal Refrigerator Sounds
Every refrigerator makes noise. Compressors cycle on and off, fans circulate air, and ice makers fill with water. A low hum, gentle clicking when the compressor starts, or the occasional whoosh of refrigerant flowing through coils are all part of normal operation.
Abnormal sounds stand out. A loud, persistent hum that doesn’t stop, a rattling or vibrating buzz, or a sudden increase in volume compared to usual operation all point to a problem. If the humming is accompanied by warm food, frost buildup, or water pooling inside the unit, it’s time to investigate.
Location matters, too. Sounds coming from the back of the fridge often involve the condenser or compressor. Noises from inside the freezer compartment usually trace back to the evaporator fan. Pinpointing where the hum originates helps narrow down the cause and the fix. Use a flashlight and listen carefully, sometimes the simplest diagnostic tool is just paying attention.
The Compressor: Your Fridge’s Hardest Worker
The compressor is the heart of a refrigerator’s cooling system. It pressurizes refrigerant and pumps it through coils to remove heat. Compressors run in cycles, turning on when temps rise, shutting off when the fridge reaches target temperature. A working compressor hums softly during operation, and that’s perfectly normal.
But compressors can develop problems. An unusually loud hum, often described as a low-frequency drone or buzzing, can mean the compressor motor is struggling. This happens when internal components wear out, refrigerant levels drop, or the motor itself begins to fail. If the hum is paired with a hot exterior shell or the fridge isn’t cooling properly, the compressor may be nearing the end of its lifespan.
Compressor replacement is expensive, often $300 to $600 in parts and labor, sometimes more than the fridge is worth if it’s an older model. Before jumping to that conclusion, rule out simpler issues first. Check that the fridge is level (an unlevel unit forces the compressor to work harder), and ensure nothing is blocking airflow around the back. If the compressor is truly failing, replacement or upgrading to a new fridge becomes a cost-benefit decision. When in doubt, get a second opinion from an appliance tech.
Condenser Coils and Fan Issues
Condenser coils sit either on the back panel or underneath the refrigerator. They release heat absorbed from inside the unit. A condenser fan (found on many models, especially bottom-coil designs) pulls air across the coils to help dissipate heat. When coils get clogged with dust, pet hair, and kitchen grime, airflow drops and the compressor works harder, creating more noise.
Dirty condenser coils are one of the easiest fixes. Unplug the fridge, pull it away from the wall (you may need a helper, these units are heavy), and vacuum the coils with a brush attachment or a coil cleaning brush designed for tight spaces. Do this every six months if you have pets, once a year otherwise. Professionals at Good Housekeeping recommend this maintenance step to extend appliance lifespan and improve efficiency.
The condenser fan itself can also cause humming. If the fan blade is dirty, bent, or obstructed by debris, it won’t spin smoothly. With the fridge unplugged, locate the fan (usually near the compressor at the bottom rear), inspect the blade, and clear any buildup. Spin it by hand, it should rotate freely. If it’s stiff or wobbles, the fan motor may be failing and should be replaced. Replacement condenser fans cost $20 to $60 and typically mount with a couple of screws and a plug-in connector.
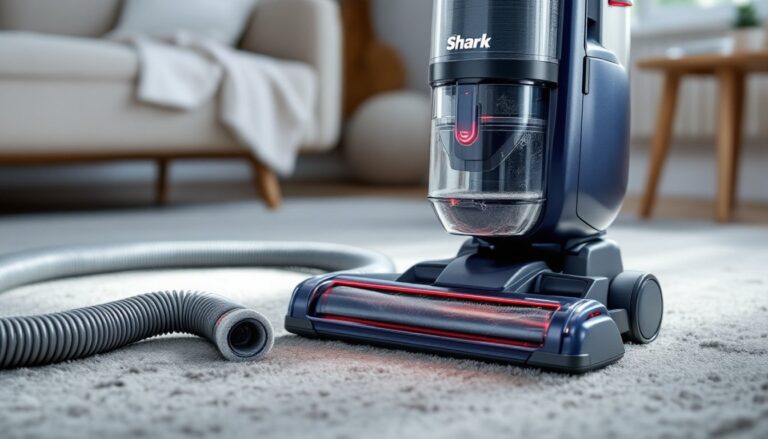
Evaporator Fan Problems Behind the Freezer Wall
The evaporator fan lives inside the freezer compartment, usually hidden behind a panel. It circulates cold air from the evaporator coils throughout both the freezer and refrigerator sections. When this fan runs into trouble, the result is often a loud humming, buzzing, or squealing sound that comes from inside the freezer.
Ice buildup on the evaporator coils or fan blades is a common culprit. If the defrost system isn’t working correctly, frost accumulates and the fan blades hit the ice, creating noise and sometimes stopping the fan altogether. To check, remove any shelves blocking access to the rear freezer panel, unscrew the panel (typically held by a few Phillips-head screws), and inspect the coils and fan. Wear gloves, it’s cold.
If ice is present, the fridge needs to be defrosted. Unplug the unit, remove all food, and let it thaw completely (this can take several hours or overnight). Place towels underneath to catch meltwater. Once thawed, check the defrost heater, defrost thermostat, and defrost timer, one of these components has likely failed. Replacing a defrost heater runs $20 to $50 in parts. Detailed walkthroughs are available at Family Handyman for those comfortable working with basic wiring.
If there’s no ice but the fan still hums or doesn’t spin, the evaporator fan motor may be worn out. Replacement motors cost $30 to $80 and install with a few screws and wire connectors. Always unplug the fridge and take a photo of wire connections before disconnecting anything.
Water Inlet Valve Vibrations and Noises
The water inlet valve controls water flow to the ice maker and water dispenser (if equipped). It’s usually located at the back lower section of the fridge where the water line connects. When the valve opens to fill the ice maker, it can produce a brief hum or buzz, this is normal.
But a constant or loud buzzing from the inlet valve signals trouble. Low water pressure (below 20 psi) can cause the valve to vibrate and hum without opening fully. Mineral buildup inside the valve, especially in areas with hard water, can also restrict flow and create noise. If the ice maker is slow to fill or water dispenses weakly, the inlet valve is a likely suspect.
To test water pressure, turn off the water supply to the fridge, disconnect the line, and let it run into a bucket for 10 seconds. You should get a strong, steady stream. If flow is weak, check for kinks in the 1/4-inch copper or braided steel supply line, or install a water pressure gauge at the shutoff valve to confirm PSI.
Replacing the inlet valve is straightforward. Unplug the fridge, shut off water, disconnect the supply line and internal water tubes, unscrew the mounting bracket, and swap in a new valve (around $15 to $40). Match the part number to the fridge model, most manufacturers list this info inside the door or in the owner’s manual.
Simple DIY Fixes to Reduce Refrigerator Humming
Before diving into parts replacement, try these quick fixes that solve humming issues more often than you’d think:
Level the refrigerator. Use a bubble level on top of the unit, front to back and side to side. Adjust the front leveling legs (usually accessible from the bottom front) until the fridge is level or tilts very slightly back. An unlevel fridge forces the compressor to work harder and can cause vibration noise.
Tighten loose components. Check drain pans, mounting brackets, and any removable panels. A vibrating compressor can rattle a loose drain pan underneath the fridge, amplifying the hum. Press down gently, if something rattles, tighten or reposition it.
Clear space around the fridge. Leave at least 1 to 2 inches of clearance on all sides and the top for airflow. Cramming a fridge into a tight cabinet cutout restricts ventilation and makes the compressor run hotter and louder.
Replace worn door gaskets. If door seals are cracked or don’t close tightly, warm air gets in and the compressor runs longer to compensate. Test the seal by closing the door on a dollar bill, if you can pull it out easily, the gasket needs replacing. New gaskets cost $50 to $100 and install with screws or clips.
Check internal items. Sometimes the noise isn’t the fridge at all, bottles, jars, or shelves vibrating against each other can create a surprising amount of sound. Rearrange items and see if the hum changes.
Kitchen organization tips, including how to arrange appliances for better performance, are frequently covered at The Kitchn for anyone looking to optimize their space alongside troubleshooting appliances.
Conclusion
Most refrigerator humming comes down to a handful of fixable issues, dirty coils, a struggling fan, ice buildup, or a worn valve. Start with the easiest checks: clean the coils, level the unit, and listen for where the noise originates. Many fixes require nothing more than a screwdriver, a vacuum, and a little patience. If the compressor itself is failing or electrical components are beyond comfort level, calling in an appliance tech is the smart move. Either way, understanding what’s causing the hum puts control back in the homeowner’s hands.