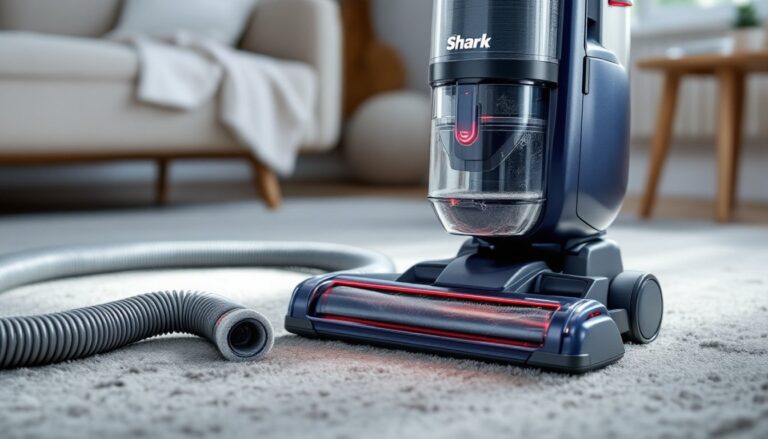
When dishes come out cold and wet instead of hot and dry, the problem usually traces back to a failed heating element. Whirlpool dishwashers rely on this metal coil to heat water during wash cycles and dry dishes afterward. Replacing a heating element isn’t the simplest appliance repair, but it’s well within reach for most DIYers with basic hand tools and a couple of hours. This guide walks through the entire process, from diagnosing the issue to testing the repair, so homeowners can skip the service call and tackle the job themselves.
Table of Contents
ToggleKey Takeaways
- A faulty Whirlpool dishwasher heating element causes dishes to come out wet and cold instead of hot and dry, and can be diagnosed with a multimeter test reading of 15–30 ohms.
- Before replacing a heating element, turn off power at the circuit breaker, shut off water supply, and disconnect existing wires while taking a photo of the wire configuration for reference.
- Installing a new heating element requires removing the mounting nuts from below, installing a fresh gasket, inserting the element through the tub, tightening nuts hand-tight plus a quarter turn, and reconnecting wires securely.
- Test the new heating element with a multimeter before reassembly, and run an empty test cycle with heated dry enabled to confirm water reaches 140–150°F and dishes dry properly.
- Signs of a failing heating element include cold wash water, dishes staying wet after drying cycles, tripped breakers or blown fuses, or visible corrosion on the metal coil.
Signs Your Whirlpool Dishwasher Heating Element Needs Replacement
A faulty heating element doesn’t always announce itself with sparks or error codes. More often, the symptoms are subtle but consistent.
Dishes aren’t drying. If plates and glasses come out wet even after a full cycle with heated dry enabled, the element likely isn’t generating enough heat. Water should evaporate during the dry phase, leaving dishes mostly dry to the touch.
Water stays lukewarm. Most dishwashers heat water to 140–150°F for effective cleaning. If the spray arm water feels tepid when checked mid-cycle (wear gloves), the element may not be heating at all.
Tripped breaker or blown fuse. A short in the heating element can cause electrical issues. If the dishwasher keeps tripping the circuit breaker or blowing a fuse, the element is a prime suspect.
Visible damage. If you’ve already accessed the element and noticed corrosion, cracks, or breaks in the metal coil, replacement is non-negotiable.
Failed continuity test. Using a multimeter set to ohms, a working heating element should read between 15–30 ohms (consult the appliance manual for exact specs). An infinite reading means the element is open and needs replacing.
Many home appliance repair guides recommend testing the element before ordering parts, it’s the fastest way to confirm the diagnosis.
Tools and Materials You’ll Need
Gather everything before starting. Appliance work goes smoother when tools are within arm’s reach.
Tools:
- Nut driver set (typically ¼” or 5/16″)
- Phillips and flathead screwdrivers
- Needle-nose pliers
- Multimeter (for testing continuity)
- Adjustable wrench (for stubborn mounting nuts)
- Flashlight or headlamp
- Towels or shallow pan (to catch residual water)
Materials:
- Replacement heating element (OEM or exact-fit aftermarket: cross-reference model number)
- Rubber gasket or O-ring (usually included with the element, but verify)
- Electrical contact cleaner (optional, for cleaning terminals)
Safety Gear:
- Work gloves (to protect against sharp edges inside the tub)
- Safety glasses (when working underneath or inside the dishwasher)
Whirlpool dishwashers share heating element designs across many models, but always verify the part number against the appliance’s model and serial number plate (usually on the door jamb). Using the wrong element can lead to poor fit, electrical issues, or voided warranties.
Safety Precautions Before You Begin
Appliance repair involves electricity and water, a risky combination if safety steps are skipped.
Disconnect power completely. Turn off the dishwasher’s circuit breaker at the main panel. Don’t rely on just unplugging the unit: many dishwashers are hardwired. Use a non-contact voltage tester to confirm power is off before touching any wires.
Shut off the water supply. Locate the shut-off valve under the sink and turn it clockwise until tight. If there’s no dedicated valve, shut off water to the kitchen entirely.
Clear the workspace. Remove the bottom dish rack and any debris from the tub floor. Lay down towels to catch water that may spill when removing the element.
Discharge residual water. Even with the water off, a small amount may remain in the sump or around the element. Keep towels or a shallow pan handy.
Watch for sharp edges. Sheet metal components inside the dishwasher can have burrs or sharp corners. Gloves aren’t optional.
If the dishwasher is under warranty or part of a rental property, verify that DIY repairs won’t void coverage or violate lease terms. Some jurisdictions require licensed appliance technicians for electrical repairs, though heating element replacement typically falls under permissible homeowner maintenance.
Step-by-Step Heating Element Replacement Process
Accessing the Heating Element
The heating element sits at the bottom of the dishwasher tub, usually beneath a protective cover or the spray arm assembly.
-
Remove the lower spray arm. Depending on the model, it either lifts straight up or unscrews counterclockwise. Set it aside.
-
Take out the filter assembly. Twist or lift the cylindrical filter and screen. Rinse debris if needed, but set it aside in a clean spot.
-
Locate the heating element. It’s a U-shaped or looped metal coil at the tub floor. Two terminals protrude downward through the tub bottom, secured by mounting nuts underneath.
-
Access the underside. Pull the dishwasher forward from the counter (unscrew mounting brackets if present). Tilt it back slightly or lay it on its back panel for easier access. Some people prefer working underneath while the unit stays in place, but that’s awkward. As with many appliance maintenance tasks, positioning the unit for clear access saves frustration.
-
Remove the lower access panel. Unscrew the toe-kick panel or bottom cover to expose the element terminals and mounting nuts.
Removing and Installing the New Element
-
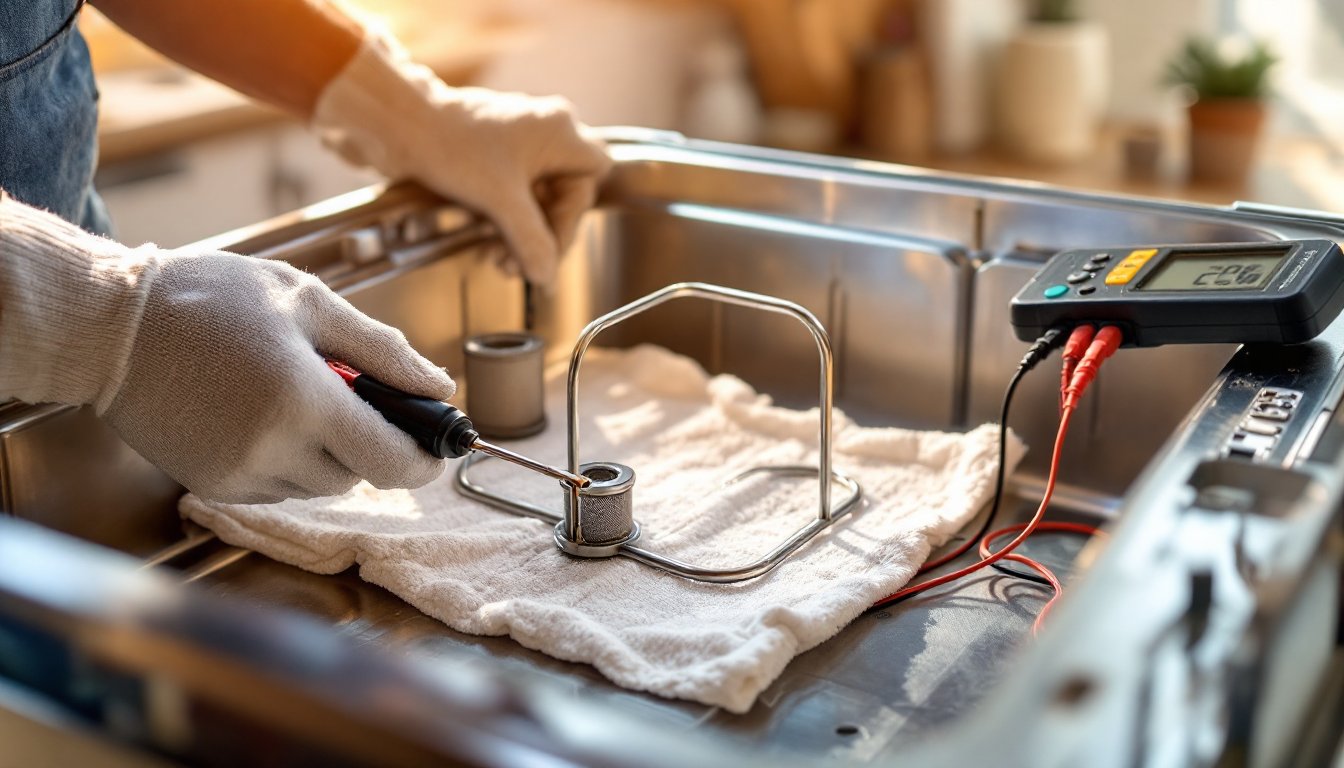
Disconnect the wires. The heating element has two spade terminals. Snap a photo of the wire configuration, then pull the wire connectors straight off. If they’re corroded or stiff, wiggle gently with needle-nose pliers.
-
Remove the mounting nuts. Use a nut driver or adjustable wrench to unscrew the two nuts securing the element from below. Hold the element from the top to prevent it from spinning.
-
Extract the old element. From inside the tub, lift the element up and out. The gasket or O-ring usually comes with it. If it’s stuck, gently rock it side to side.
-
Inspect the mounting area. Wipe away mineral deposits, food debris, or corrosion around the mounting holes. A clean surface ensures a good seal.
-
Install the new gasket. Slide the rubber gasket onto the new heating element’s terminals. Most replacement elements come with a gasket, don’t reuse the old one unless it’s in perfect condition.
-
Insert the new element. From inside the tub, push the terminals down through the mounting holes. Align the element so it sits flat on the tub floor without touching the spray arm path.
-
Secure from below. Thread the mounting nuts onto the terminals and tighten until snug. Don’t overtighten, hand-tight plus a quarter turn is sufficient. Overtightening can crack the tub.
-
Reconnect the wires. Push the spade connectors onto the terminals. They should snap into place. Double-check polarity isn’t an issue here, but confirm both connections are tight.
-
Test for continuity. Before reassembling everything, set the multimeter to ohms and touch the probes to each terminal. A reading of 15–30 ohms (or within the range specified in the manual) confirms the new element is functional.
Many kitchen appliance how-tos emphasize testing before reassembly, it’s far easier to swap a defective part now than after the dishwasher is back under the counter.
Testing Your Dishwasher After Replacement
With the new element installed, it’s time to verify the repair before pushing the dishwasher back into place.
-
Reassemble the interior. Replace the filter assembly, lower spray arm, and any covers removed earlier. Ensure the spray arm rotates freely without hitting the element.
-
Restore power and water. Turn the circuit breaker back on and open the water supply valve. Check for leaks around the element mounting area as water fills the tub.
-
Run a test cycle. Select a short wash cycle with heated dry enabled. Don’t load dishes yet, just let it run empty.
-
Monitor performance. Listen for the element energizing (a faint hum or click). After 10–15 minutes, carefully open the door and check water temperature. It should feel hot, not lukewarm. Wear gloves, 140°F water can scald.
-
Check for leaks underneath. While the cycle runs, inspect the area beneath the dishwasher with a flashlight. Any drips around the element terminals indicate a bad gasket seal. If leaking, shut everything down, drain the unit, and reseat the element with a new gasket.
-
Evaluate the dry cycle. At cycle end, dishes should be mostly dry with minimal moisture. Some condensation is normal, but standing water or completely wet dishes suggest the element still isn’t heating properly.
If the element heats but dishes remain wet, the issue may lie elsewhere, faulty thermostat, broken vent fan, or rinse aid dispenser problems. Those repairs get more complex and may warrant a service call.
Once confirmed working, slide the dishwasher back under the counter, reattach mounting brackets, and reconnect the toe-kick panel. Most heating element replacements take 1–2 hours start to finish for someone working methodically.